Showing posts with label Chevy. Show all posts

Sunday, April 21, 2013

2012 Chevy Camaro Factory Amp Bypass - Aftermarket Amp Install


I recently had the pleasure of working on one of these vehicles. I bypassed the factory Boston Acoustics amp and installed a couple aftermarket JL Audio amps, the 300/4 and the 500/1 to be exact. It was a pretty easy install considering all the wires I needed were located in the trunk of the vehicle.  

2012 Chevy Carmaro System Factory Amp Bypass JL Audio Install

2012 Chevy Carmaro Battery Location
The battery is located under the spare tire. 

2012 Chevy Camaro Factory Amp Location
The factory amp is located in the trunk on the driver side, behind the trunk liner. 

2012 Chevy Camaro Boston Factory Amp Bypass
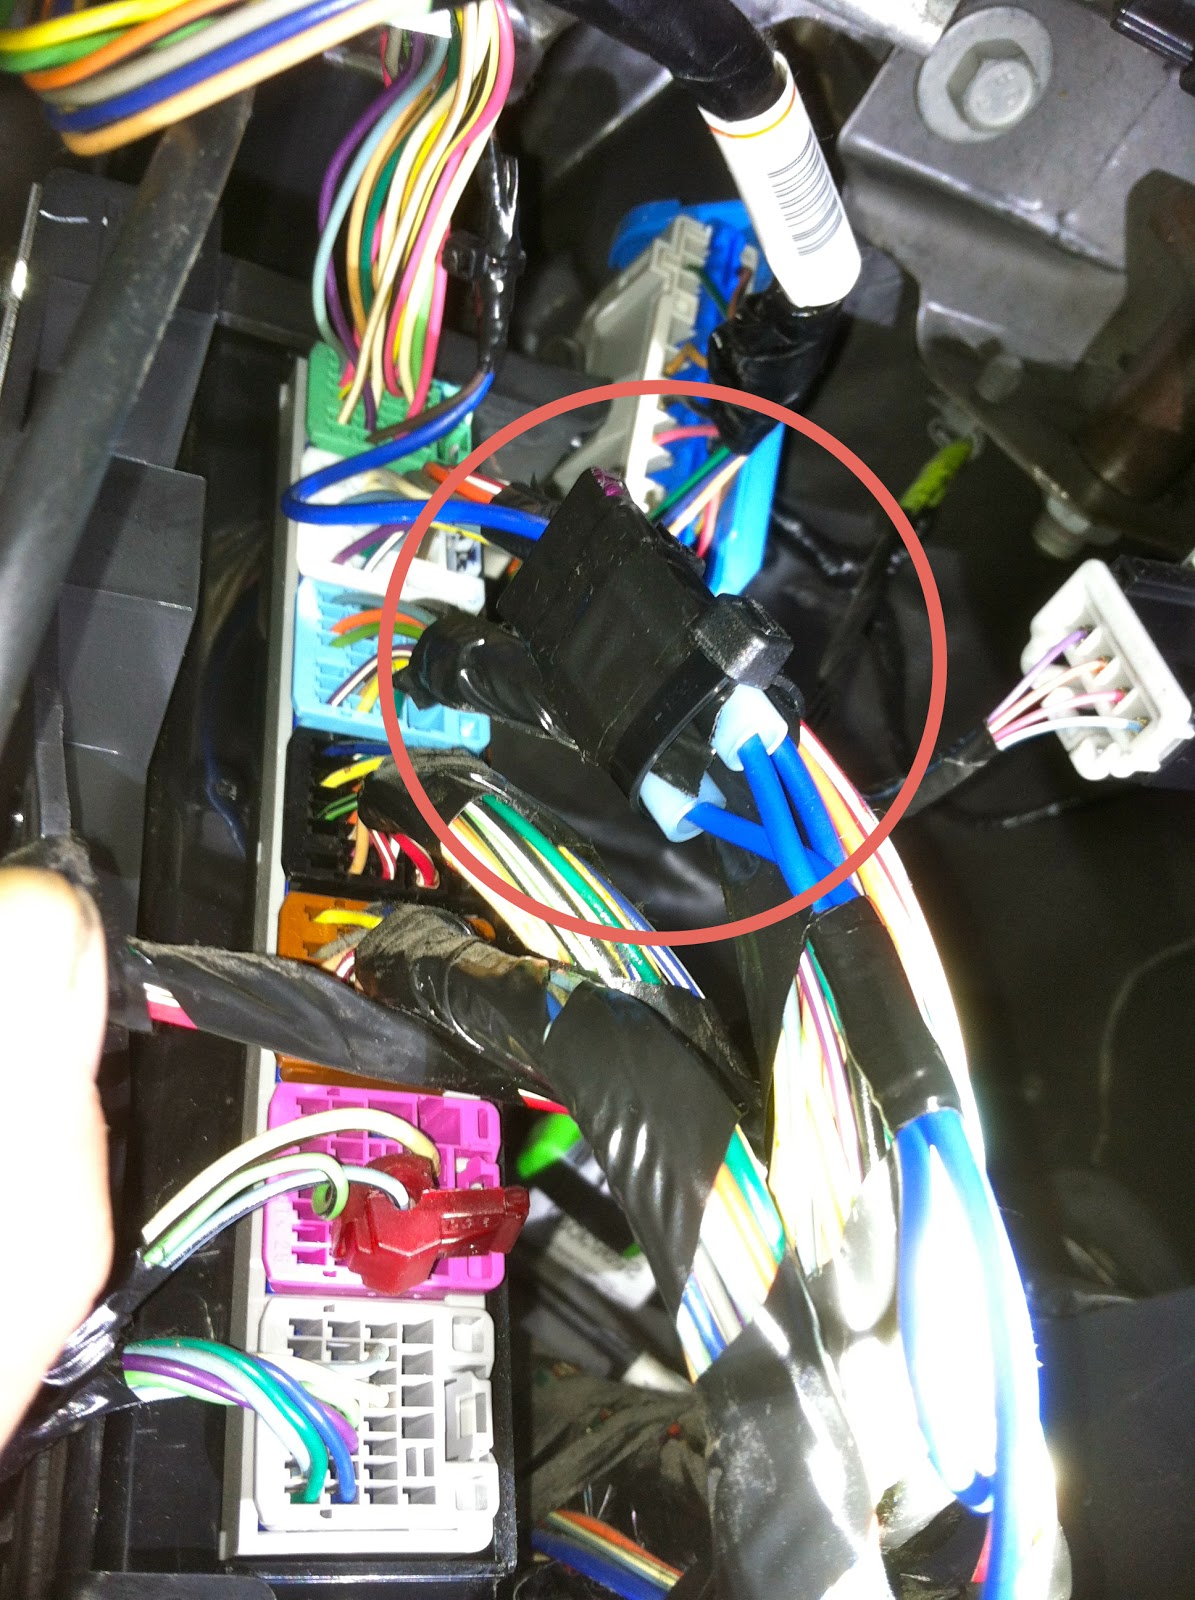
First disconnect the harnesses going to the factory amp. In the secondary wire harness, which should be the harness without the main heavy gauge power wires. You should be able to locate the factory amp turn on wire, it is a white wire. When testing with a meter it will have about a 30 second delay once the key is removed, until it will shut off.

2012 Chevy Camaro Boston Factory Amp Bypass
I then located all my signal wires going into the factory amp.
Front Left (+ Tan )(- Dk. Green)
Front Right (+ LT. Green/White)(- Orange/Black)
Rear Left (+ Brown/White)(- Brown)
Rear Right (+ DK. Blue)(- Tan)
After I tested the wires, I cut them from the factory amp harness and tipped them with RCA's so they can be connected to the JL Audio amps.
Then you must find all your speaker wires, I didn't use or connect the factory center speaker. You will have a total of six pairs of speaker wires you need to identify, because if you look at the rear factory speakers you will notice they have two pairs of wires going to each speaker. Each rear speaker is made up of a tweeter and a midrange driver and each component is independently wired to the factory amplifier. If you want to safely connect the rear tweeters like I did, you will want to use crossovers to eliminate the low frequency that could potentially damage the factory tweeters.
Front Left (+ Tan)(- Gray)
Front Right (+ LT. Green)(- Green)
Rear Left (+ DK. Blue/White)(- LT. Green/Black)
Rear Right (+ DK. Green)(- LT. Blue/Black)
Rear Left Tweeter (+ DK. Blue)(- DK.Blue/White)
Rear Right Tweeter (+ LT. Blue)(- LT. Blue/Black) 

2012 Chevy Camaro Sound Sytem Used JL Audio Amps
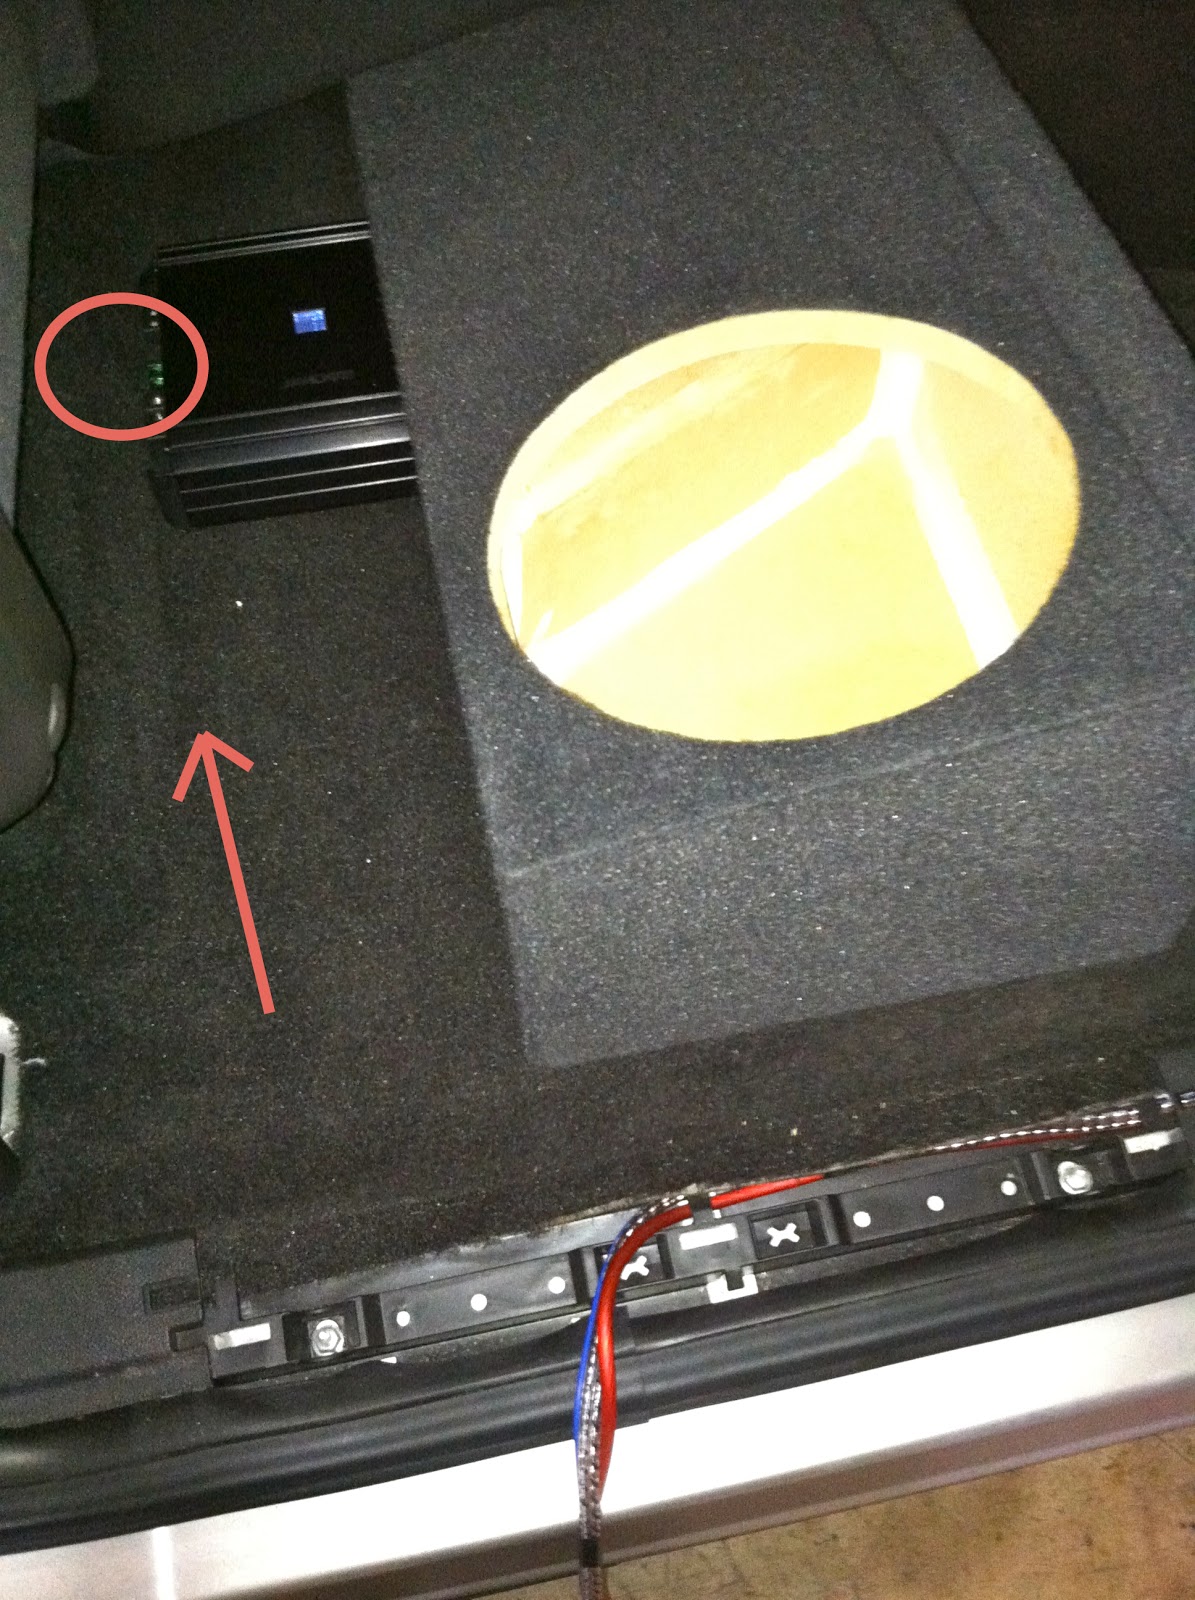
I couldn't really find any good spots to mount these amps, so I had to make a beauty board.

2012 Chevy Camaro Aftermarket Amp Sub Install

2012 Chevy Camaro Aftermarket Amp Sub Install

2012 Chevy Camaro Aftermarket Amp Sub Install

2012 Chevy Camaro Aftermarket Amp Sub Install

2012 Chevy Camaro Aftermarket Amp Sub Install
Once my board was mounted, I mounted and wired up my amps.

2012 Chevy Camaro Aftermarket Amp Sub Install

2012 Chevy Camaro Aftermarket Amp Sub Install

2012 Chevy Camaro Basic Custom Subwoofer Sealed Enclosure
Then I had to build a box, the customer wanted something basic.

2012 Chevy Camaro Basic Custom Subwoofer Sealed Enclosure

2012 Chevy Camaro Basic Custom Subwoofer Sealed Enclosure
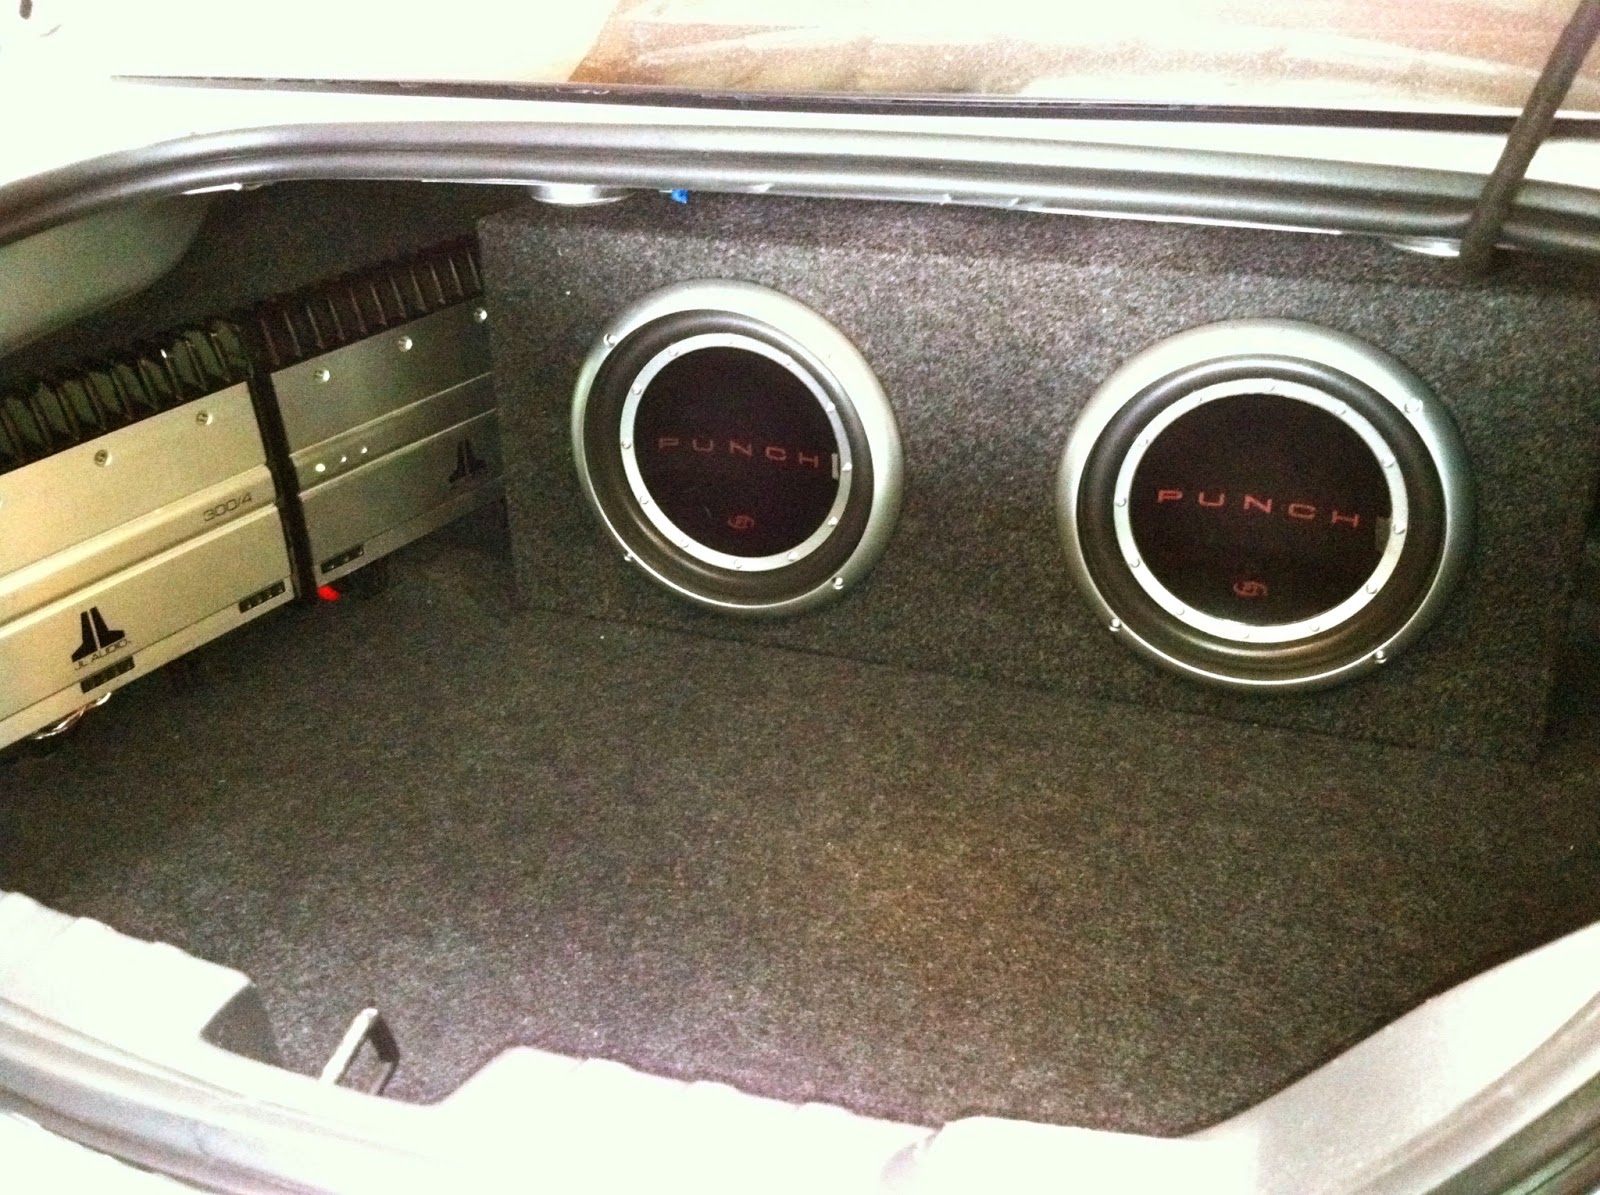
 So I built a basic sealed enclosure for two tens (1.3CF). 
2012 Chevy Camaro Basic Custom Subwoofer Sealed Enclosure
Turned out very nice, and sounded great! With the door chime, OnStar and RAP system all still fully functional. Let me know if you have any questions.
- Jeremy's Car Audio Tips


Friday, March 29, 2013

2003-2007 Chevy Silverado Double Din Indash Install Tip

If you haven't had a chance to install a double din in-dash stereo into a 2003-2007 Chevy Silverado, then you may find this tip helpful. 

Chevy Silverado Double Din Indash Install
If you try to fit the stereo into the dash cavity as is, you will notice it will not fit correctly. 

Chevy Silverado Double Din Indash Install
Due to the form of the plastic dash supports the stereo will not go far enough back to allow for proper mounting, unless you remove some of these pieces.

Chevy Silverado Double Din Indash Install
Don't worry, you won't need anything more than a pair of angled pliers. I've seen other installers use different methodes, but I think this is the easiest way.

Chevy Silverado Double Din Indash Install
I normally begin by removing the two corner pieces, the plastic is quite brittle so you won't need much force. Be carful the broken edges will be very sharp.   

Chevy Silverado Double Din Indash Install
After I remove the corner pieces, I then remove the center suport. 

Chevy Silverado Double Din Indash Install

Chevy Silverado Double Din Indash Install
Once the removal of the interfering plastic is complete, I normally do on last thing... 

Chevy Silverado Double Din Indash Install
That is cover the rough edge with some duct tape, to avoid possible damage to any of the wiring and or your hand when managing any of the wiring when mounting the stereo.
Hope this helps - Jeremy's Car Audio Tips


Thursday, March 21, 2013

2005-2013 Corvette Accessory Power Location

If you're looking for switched accessory power in a 2005-2013 Sixth Generation Corvette (C6), you will probably want to go to the fuse panel. It's located on the passenger side underneath the floor carpet. 

Mini Auto Fuse Tap
If you haven't seen or used these fuse taps, they work great! 

Corvette Switched Accessory Power
You can tap into the "Heated Seats/Wiper" relay for accessory power. 

Corvette Switched Accessory Power
If you are going to need more than a couple amps of current I recommend wiring a relay.
-Jeremy's Car Audio Tips

Sunday, March 17, 2013

2008-2012 Chevy Malibu RAP wire.

You can normally find the Retained Accessory Power wire for the seventh generation Chevy Malibu's in the driver kick.
Chevy Malibu Car Audio

Chevy Malibu Car Audio
Just remove the driver kick panel and open the loomed wires coming out of the driver door. It should be a heavier gauge wire around 14 gauge (Yellow). You can use this wire to trigger amps, stereos, sat. radios, hands free systems, relays ect...
-Jeremy's Car Audio Tips

Wednesday, March 13, 2013

GMC Sierra Amp/Sub Install

This is a quick overview of an amp and sub install I did in a newer GMC Sierra (2009). The process should be the same, if not really similar for the newer Chevy Silverado. We kept the factory stereo intact, so we tapped into the factory sub for hi level.

GMC Sierra, Chevy Silverado Amp Sub Install

GMC Sierra, Chevy Silverado Amp Sub Install
A quick and easy way to run the main power wire: Near the battery, drop the power wire down and to the rear of the truck. Loom the wire and zip tie it away from any hot and or moving parts.

GMC Sierra, Chevy Silverado Amp Sub Install
There should be a small plastic grommet on the front passenger side, near the door sill.

GMC Sierra, Chevy Silverado Amp Sub Install
Under the plastic side covers, near the edge of the carpet you should be able to locate the grommet and drill a small hole to pull the main power wire through. You will want to make sure you seal the hole with silicone once the power wire is ran through.

GMC Sierra, Chevy Silverado Amp Sub Install
If you remove the the cup holders from the center consol, you should be able to get to locate factory sub wiring. The cup holders should be able to be removed with a panel removal tool, and is normally held into place with retainer clips. There will be two pairs of wires, because the factory sub is a dual voice coil. The first voice coil wires: (+ D.Blue~White / - L. Green Black) the second voice coil: (+ D.Green /  - L.Blue~Black). If the wiring is different and you can't determine the positive and negative of each voice coil, just tap into one voice coil for your hi level input.

GMC Sierra, Chevy Silverado Amp Sub Install
When I add an aftermarket amp/sub, like I did in this GMC Sierra I normally disconnect the factory sub.

GMC Sierra, Chevy Silverado Amp Sub Install
One of the easiest places to grab your amp turn on wire in these trucks will be under the steering column. You will notice a black plastic A/C duct. 
GMC Sierra, Chevy Silverado Amp Sub Install
On the side, you will want to remove the plastic fastener holding the duct in place.
Once the fastener is removed pull the plastic A/C duct out of the way.  
GMC Sierra, Chevy Silverado Amp Sub Install Switched Power
On the left hand side you should see about six harnesses lined up running vertically. In the top green harness there should be a Brown wire, that should be your switched "Accessory" wire. You can use this wire to power on your amp. You should always test your wires with a digital muti-meter before connecting anything.
    
GMC Sierra, Chevy Silverado Amp Sub Install Switched Power
Once you tap into the "Accessory" wire , I recommend fusing the new amp turn on wire just incase it becomes shorted. I normally put a 1AMP fuse inline.    
GMC Sierra, Chevy Silverado Amp Sub Install Switched Power
That's pretty much it, all that's left is running your wires to the amp location, grounding the amp and wiring up your sub(s). Hope this helps.
-Jeremy's Car audio Tips

Tuesday, February 26, 2013

Overhead DVD Player In Chevy Traverse

I recently did an Alpine overhead DVD player/monitor in a 2012 Chevy Traverse. It was a very simple straight forward install. If you're getting ready to install an overhead in one of these, you will probably have it in and out in about an hour.  

Overhead DVD Player Chevy Traverse
I always clean and check the roof of the vehicle prior to beginning the installation, just to make sure there isn't any unknown damage to the roof because lets be realistic, who really pays attention to the outside roof of there SUV. But you better believe after the install, the owner will be up there with a microscope! lol. 

Overhead DVD Player Chevy Traverse
You will first need to remove the dome light. The side facing the front of the vehicle has several plastic tabs, if you try to pry on this side you will break the tabs off. 

Overhead DVD Player Chevy Traverse
There will be four clips holding the dome light into place, two on the top and two on the side facing the back of the vehicle.

Overhead DVD Player Chevy Traverse
 Once you got the dome light removed, you will see the top roof support. This is what you want to mount your overhead to.

Overhead DVD Player Chevy Traverse
Once I had the wiring done, which was just tapping into the positive dome light wire, 12 volt constant and wiring a relay using the brown "Accessory" under the steering column. I secured the mounting plate to the roof support with several screws. I recommend starting the screws with a small drill or screw gun, and slowly tightening then by hand, Always tripple check the size of the screws being used, make sure they are not long enough to go into your roof support and threw the thin metal that makes up the roof of the vehicle!   

Overhead DVD Player Chevy Traverse
Once the screws are properly tightened I normally put a strips of ducktape over the screws to help hold then in place. 

Alpine Overhead DVD Player Chevy Traverse
Once you connect your wire harnesses and mount the over head to the mounting plate, your pretty much done.  

Alpine Overhead DVD Player Chevy Traverse
I always check for full functionality of the overhead, dome lights, FM modulator if equipped as well as testing all wireless headphones. 

Alpine Overhead DVD Player Chevy Traverse

Jeremy's Car Audio Tips
#car #caraudio #12volt #sandiego #california