
Showing posts with label Amp Install Tip. Show all posts

Wednesday, March 13, 2013

GMC Sierra Amp/Sub Install

This is a quick overview of an amp and sub install I did in a newer GMC Sierra (2009). The process should be the same, if not really similar for the newer Chevy Silverado. We kept the factory stereo intact, so we tapped into the factory sub for hi level.

GMC Sierra, Chevy Silverado Amp Sub Install

GMC Sierra, Chevy Silverado Amp Sub Install
A quick and easy way to run the main power wire: Near the battery, drop the power wire down and to the rear of the truck. Loom the wire and zip tie it away from any hot and or moving parts.

GMC Sierra, Chevy Silverado Amp Sub Install
There should be a small plastic grommet on the front passenger side, near the door sill.

GMC Sierra, Chevy Silverado Amp Sub Install
Under the plastic side covers, near the edge of the carpet you should be able to locate the grommet and drill a small hole to pull the main power wire through. You will want to make sure you seal the hole with silicone once the power wire is ran through.

GMC Sierra, Chevy Silverado Amp Sub Install
If you remove the the cup holders from the center consol, you should be able to get to locate factory sub wiring. The cup holders should be able to be removed with a panel removal tool, and is normally held into place with retainer clips. There will be two pairs of wires, because the factory sub is a dual voice coil. The first voice coil wires: (+ D.Blue~White / - L. Green Black) the second voice coil: (+ D.Green /  - L.Blue~Black). If the wiring is different and you can't determine the positive and negative of each voice coil, just tap into one voice coil for your hi level input.

GMC Sierra, Chevy Silverado Amp Sub Install
When I add an aftermarket amp/sub, like I did in this GMC Sierra I normally disconnect the factory sub.

GMC Sierra, Chevy Silverado Amp Sub Install
One of the easiest places to grab your amp turn on wire in these trucks will be under the steering column. You will notice a black plastic A/C duct. 
GMC Sierra, Chevy Silverado Amp Sub Install
On the side, you will want to remove the plastic fastener holding the duct in place.
Once the fastener is removed pull the plastic A/C duct out of the way.  
GMC Sierra, Chevy Silverado Amp Sub Install Switched Power
On the left hand side you should see about six harnesses lined up running vertically. In the top green harness there should be a Brown wire, that should be your switched "Accessory" wire. You can use this wire to power on your amp. You should always test your wires with a digital muti-meter before connecting anything.
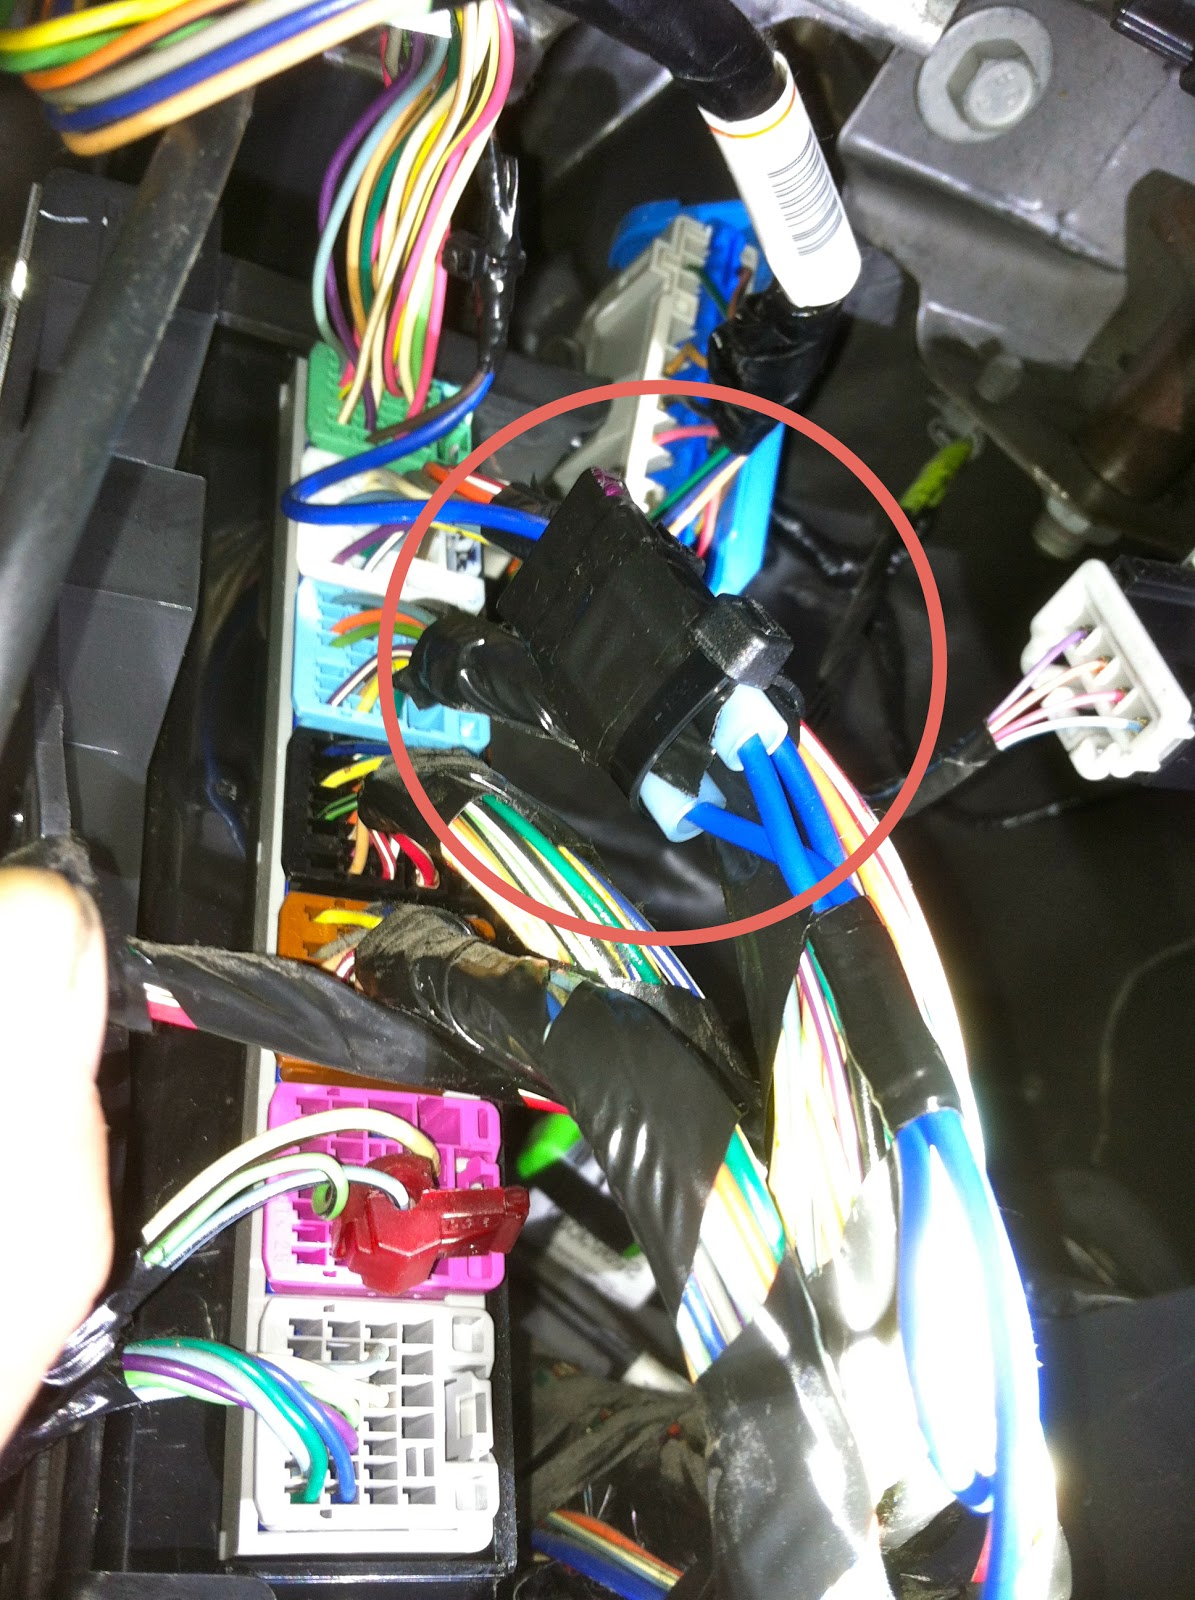
    
GMC Sierra, Chevy Silverado Amp Sub Install Switched Power
Once you tap into the "Accessory" wire , I recommend fusing the new amp turn on wire just incase it becomes shorted. I normally put a 1AMP fuse inline.    
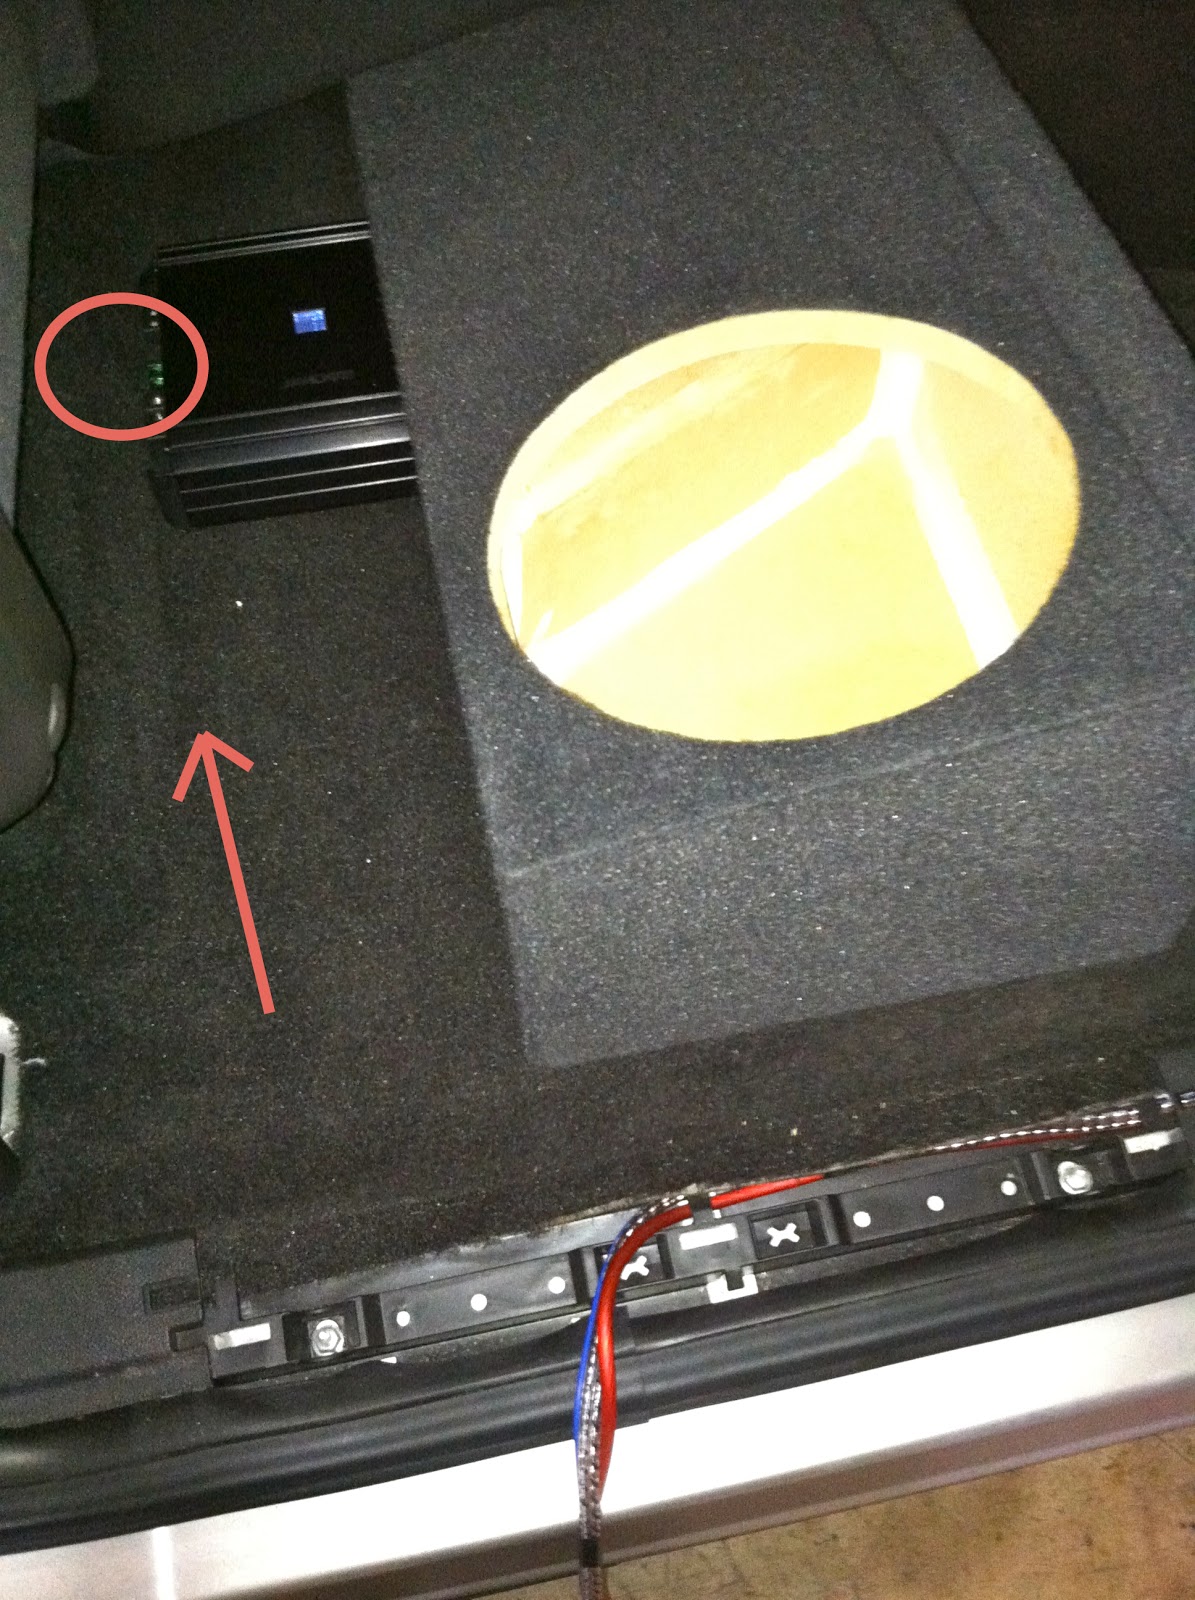
GMC Sierra, Chevy Silverado Amp Sub Install Switched Power
That's pretty much it, all that's left is running your wires to the amp location, grounding the amp and wiring up your sub(s). Hope this helps.
-Jeremy's Car audio Tips

Sunday, January 13, 2013

BMW Mono Amp Install!

Installing an aftermarket Amp to power a Sub(s) in most BMW's is actually one of the easiest installations, if you know what your doing. Since you can pretty much find everything in the trunk, the install is less time consuming because all the wire runs are relatively short runs assuming you want all your gear in the trunk. The factory Amp is normally located in the trunk behind the trunk liner on the driver side. If you're keeping the factory radio you can normally tap into the factory subwoofers here for your hi level input to your aftermarket amp. 

BMW Aftermarket Amp Subwoofer Installation Jeremy Travis Vasquez
 You can also normally find the factory 12v amp turn on wire here as well and use it to turn on your new aftermarket amp . In this BMW the amp turn on wire was "Black" sometime it will be a different color like "white" or "blue" so always double check and test with a meter. When testing for the factory amp turn on wire keep in mind most the time the amp turn on wire in BMW's will have a shut off delay. Meaning the wire will stay 12v for about 30-60 seconds after the key is removed and the door has been opened.

BMW Aftermarket Alpine Amp Subwoofer Installation Jeremy Travis Vasquez
After you tap into the factory sub wires and grab your amp turn on wire from the factory amp. Run them to the new aftermarket amp location avoiding anything that could possibly damage the new wires. The main power wire can be attached to the battery which will normally be located in the trunk on the passenger side behind the plastic cover. Once you find a good grounding point attach your ground and run both wires to the new aftermarket amp as well.  

BMW Aftermarket Alpine Amp Subwoofer Installation Jeremy Travis Vasquez
 Once all your your connections are made and the subs are connected, your ready to tune your new amp! 

BMW Aftermarket Alpine Amp Subwoofer Installation Jeremy Travis Vasquez
Once properly tuned and mounted, enjoy!

-Jeremy's Car Audio Tips
#bmw #amp #sub #caraudio #soundsystem #sandiego